
“DIY Wardrobe: A Comprehensive Guide
Related Articles DIY Wardrobe: A Comprehensive Guide
- Cute Trends: A Comprehensive Guide
- The Classic Date Night Look: Timeless Elegance For A Modern Romance
- Cute Accessories: A Celebration Of Self-Expression And Style
- Cute Casual Outfits: A Guide To Effortless Style
- Chic Makeup Hacks: Elevate Your Look With Effortless Techniques
Introduction
We’re thrilled to take a closer look at an engaging topic related to DIY Wardrobe: A Comprehensive Guide. Let’s weave together valuable insights and fresh perspectives to bring a new dimension to your understanding.
DIY Wardrobe: A Comprehensive Guide

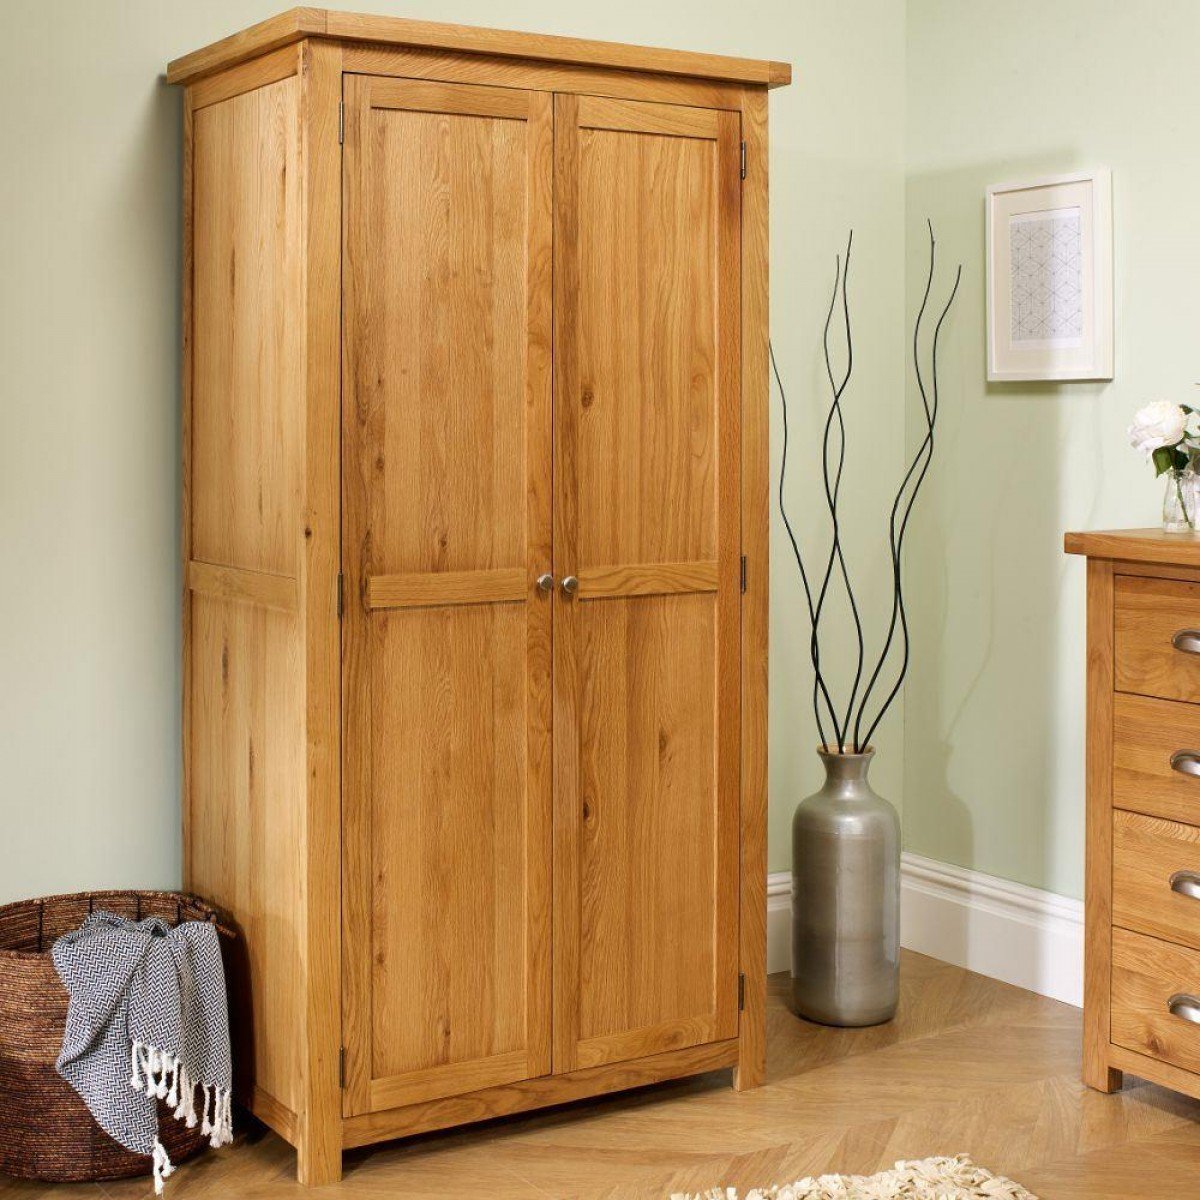
A wardrobe is a fundamental piece of furniture in any home, providing essential storage for clothing and accessories. However, ready-made wardrobes can be expensive, often lacking the customization options to perfectly fit your space and style. This is where the DIY approach shines. Building your own wardrobe allows for complete control over design, size, materials, and features, resulting in a unique and cost-effective solution tailored to your specific needs. This comprehensive guide will walk you through the entire process, from planning and design to construction and finishing, empowering you to create the wardrobe of your dreams.
I. Planning and Design:
Before diving into construction, careful planning is crucial. This phase involves several key steps:
-
Measuring your space: Accurately measure the available space where the wardrobe will be located, taking into account wall irregularities, existing fixtures (like electrical outlets or pipes), and desired clearances for doors and drawers. Note the height, width, and depth, and consider any constraints imposed by the room’s layout.
-
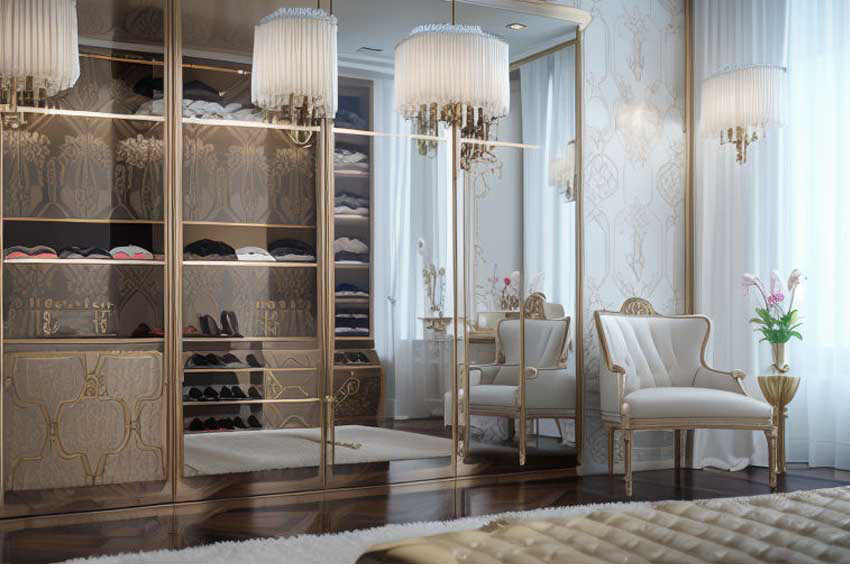
Determining wardrobe style and features: Decide on the overall style of your wardrobe. Will it be a classic, minimalist design, or something more ornate? Consider the number of shelves, drawers, hanging rods, and other features you require. Sketch your design, including dimensions for each component. Think about the type of doors (sliding, hinged, bi-fold) and whether you need any additional features like a mirror or built-in lighting.
-
Choosing materials: The choice of materials significantly impacts the wardrobe’s durability, aesthetics, and cost. Popular options include:
- Wood: Offers strength, durability, and a natural aesthetic. Consider solid wood for a premium feel or engineered wood (plywood, MDF) for affordability and ease of working.
- Particleboard/MDF: Cost-effective options, but less durable than wood. Require careful handling to prevent damage.
- Metal: Provides strength and modern aesthetics, suitable for industrial or contemporary styles.
- Combination materials: Combining different materials can create a unique look and optimize cost-effectiveness.

Creating a detailed plan: Based on your measurements, style preferences, and material choices, create a detailed plan with precise dimensions for each component. This plan will serve as your blueprint throughout the construction process. Consider using CAD software for a professional-looking plan, or simply draw detailed sketches with precise measurements.
II. Gathering Tools and Materials:
Once your design is finalized, gather the necessary tools and materials. This list may vary depending on your specific design and material choices, but generally includes:
-
Tools:
- Measuring tape
- Pencil
- Saw (circular saw, jigsaw, hand saw)
- Drill
- Screwdriver (both Phillips and flathead)
- Sander (orbital sander recommended)
- Level
- Clamps
- Safety glasses
- Dust mask
- Work gloves
-
Materials:
- Wood or other chosen material (cut to size according to your plan)
- Screws
- Wood glue
- Wood filler
- Sandpaper (various grits)
- Primer
- Paint or stain (and brushes/rollers)
- Hardware (hinges, handles, drawer slides, hanging rods)
- Decorative elements (optional)
III. Construction:
The construction phase involves assembling the various components of your wardrobe according to your plan. This is a detailed process, and the specific steps will vary depending on your design. However, some general steps include:
-
Cutting the materials: Accurately cut the wood or other materials to the dimensions specified in your plan. Use appropriate tools and safety precautions.
-
Assembling the frame: Construct the main frame of the wardrobe, using wood glue and screws to join the components. Ensure all joints are square and secure.
-
Adding shelves and drawers: Install shelves and drawers according to your design. Use appropriate hardware and ensure they are securely fastened.
-
Installing hanging rods: Mount hanging rods at the desired height. Ensure they are securely supported and able to withstand the weight of clothing.
-
Attaching doors: Install doors using appropriate hinges and hardware. Ensure they open and close smoothly.
-
Finishing touches: Add any additional features like a mirror or built-in lighting.
IV. Finishing and Refinement:
Once the construction is complete, the finishing touches are crucial for aesthetics and durability. This phase involves:
-
Sanding: Sand all surfaces smooth, paying attention to any imperfections. Start with coarser grit sandpaper and gradually move to finer grits for a smooth finish.
-
Filling imperfections: Fill any gaps or holes with wood filler, allowing it to dry completely before sanding smooth.
-
Priming: Apply a primer to prepare the surface for painting or staining. This ensures even color and prevents the wood from absorbing the finish unevenly.
-
Painting or staining: Apply paint or stain according to the manufacturer’s instructions. Multiple coats may be necessary for optimal coverage and durability.
-
Installing hardware: Attach hinges, handles, drawer slides, and other hardware. Ensure they are securely fastened and function correctly.
-
Cleaning up: Clean up any excess paint, stain, or debris.
V. Safety Precautions:
Safety should be a top priority throughout the entire DIY wardrobe project. Always wear appropriate safety gear, including safety glasses, a dust mask, and work gloves. Use caution when operating power tools and follow the manufacturer’s instructions. Ensure your workspace is well-lit and organized to minimize the risk of accidents.
VI. Customization Options:
The beauty of a DIY wardrobe is the ability to customize it to your specific needs and preferences. Consider these customization options:
-
Built-in lighting: Add LED strip lights for improved visibility and a modern touch.
-
Mirrors: Incorporate a full-length mirror for convenience.
-
Shoe racks: Include dedicated shoe storage for organization.
-
Tie racks: Add tie racks for easy access to ties and belts.
-
Jewelry organizers: Designate a space for jewelry storage.
VII. Cost Savings:
Building your own wardrobe can save you a significant amount of money compared to purchasing a ready-made one. The cost savings come from avoiding the markup associated with retail products and using readily available materials.
VIII. Conclusion:
Building a DIY wardrobe is a rewarding project that allows for complete control over design, features, and cost. By following this comprehensive guide, you can create a unique and functional wardrobe that perfectly suits your needs and enhances your home’s aesthetic appeal. Remember to plan carefully, gather the necessary tools and materials, and prioritize safety throughout the process. The satisfaction of creating something beautiful and functional with your own hands is unparalleled. Enjoy the process, and happy building!

Closing
With that, we hope this article has provided valuable insights into DIY Wardrobe: A Comprehensive Guide. Thank you for taking the time to read this article. See you in our next article!

